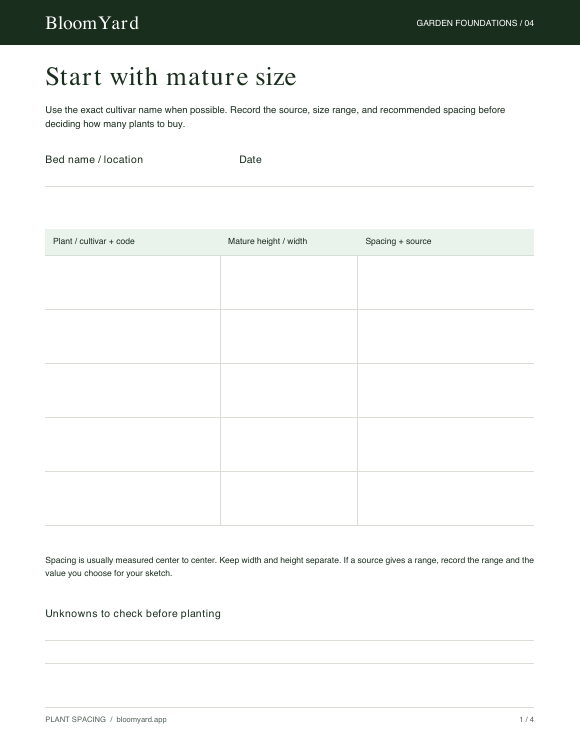
New perennials rarely look as large as the plants pictured on their labels. That makes it tempting to tuck another pot into every gap. A few seasons later, those same plants may lean into the path or compete with their neighbors. Learning how to space perennials means planning for the plants you expect to grow, not just the pots you bring home.
You do not need a complicated drawing. Start with the bed's dimensions, the exact plants you are considering, and their recommended spacing. A simple sketch can reveal an overcrowded plan before you buy or dig.
Read mature width and recommended spacing
A plant's mature height tells you how tall it may grow. Its mature width, sometimes called spread, tells you how much room its foliage or clump may occupy. These are different measurements. A tall, narrow plant and a low, broad plant can use space very differently.
Look up the exact cultivar when possible. Two plants sold under the same common name can mature at different sizes. University of Maryland Extension notes that named cultivars can provide more consistent traits, including mature size. Record the source and any size range rather than replacing it with a guess.
If a reliable grower or extension source gives a specific planting distance, use that as your starting point. Mature width helps you visualize the outcome, but it is not a universal substitute for species-specific spacing guidance.
University of Maryland Extension: perennial selection and care
Measure spacing from center to center
Plant spacing is commonly described on center: from the center of one plant to the center of the next. It does not mean leaving that much empty space between the edges of two nursery pots.
Imagine three plants with a recommended spacing of 24 inches. Mark their planting centers 24 inches apart. The young plants may have gaps between them. Those gaps are part of the plan, not necessarily a sign that you need more plants.
For a simple mixed planting, sketch each plant as a circle representing its expected width. If one is expected to be 24 inches wide and its neighbor 36 inches wide, their radii are 12 and 18 inches. A center distance of 30 inches would make those imagined mature circles just touch. That is a useful geometric starting point, not a promise of exact growth or a rule for every garden style.
Check that estimate against plant-specific recommendations and leave extra clearance where necessary. University of Maryland's Ask Extension guidance explains how mature width and the desired arrangement influence perennial spacing.
Ask Extension: spacing native perennials
Measure the usable bed, then sketch the plants
Before counting plants, decide which parts of the bed can actually be planted. A path, utility access area, existing shrub, or tree root zone may reduce the usable area. Keep access to faucets, drains, and equipment clear.
- Measure the boundaries. Record the bed's length and depth. For a curved bed, take several depth measurements rather than assuming a perfect rectangle.
- Choose a drawing scale. For example, let one square on graph paper represent one foot. Write that scale beside the sketch.
- Mark fixed features. Add existing plants, paths, and places you need to reach for maintenance.
- Draw mature-size footprints. Use the same scale for both the bed and the plant circles. Label each center with a plant code.
- Check the edges. A plant's center may be inside the bed while half its mature foliage extends into the walkway. Adjust its position or choose a smaller plant.
For that last check, a plant expected to be 30 inches wide has a 15-inch radius. Placing its center 15 inches from an edge would bring the imagined foliage to the edge. Add clearance if you want the walkway to remain open or the plant tends to arch outward.
Count from the layout, not just the square footage
Dividing bed area by a spacing number can produce a misleading shopping list. Spacing is a distance, while bed area is measured in square units. Mixed plant sizes, staggered rows, curves, and edge clearances all change the count.
A more useful approach for a small mixed bed is to count the labeled centers on your sketch. Group them by plant name, then compare the totals with your budget and maintenance plans. Set nursery pots out at those positions before planting and check the measurements again.
Do not squeeze in an extra perennial just because there is a bare patch in year one. You can keep the area weeded and appropriately mulched while plants establish. Any temporary planting should respect the permanent plants' future space and care needs.
Decide how much overlap you want to manage
Some gardeners prefer distinct clumps; others want a closely woven planting. Both require attention to plant behavior. A vigorous spreader can move beyond its original footprint, while a slower-growing neighbor may take longer to fill its space.
Closer spacing may create a fuller look sooner, but it can also increase competition and reduce air movement. University of Maryland Extension discusses these tradeoffs in its groundcover guidance. Density should be an intentional choice suited to the plants and site, not just a response to empty soil.
University of Maryland Extension: spacing and competition
Make room to inspect, weed, and care for the bed. Revisit the plan as plants grow. Some perennials benefit from division, but timing and suitability vary; moving or dividing everything on the same schedule is not the answer. University of Minnesota Extension provides plant-specific division guidance.
University of Minnesota Extension: dividing perennials
Turn your sketch into a planting plan
Our free Plant Spacing Workbook includes a plant-size reference sheet, a scaled bed grid, a spacing and edge-clearance check, and a counted shopping list. It helps you connect the label information to the space you actually have.
Get the Plant Spacing Workbook. Before choosing the final plants, check your garden sunlight, soil conditions, and watering needs, too. A plant fits when both its size and its growing requirements belong in that spot.