A bed can look bright when you leave for work and sit in shade for the rest of the day. That makes “it gets plenty of sun” a shaky starting point for choosing plants. Learning how to measure sunlight in your garden gives you a much more useful description: when direct sun arrives, how long it stays, and where the shade moves.
You do not need a special meter to begin. A simple sketch, a few observations, and a record of the date will help you compare a planting spot with the light requirements on a plant label. Start with one bed, then repeat the process wherever conditions look different.
What full sun, part shade, and full shade mean
Full sun generally means at least six hours of direct sunlight a day during the growing season. A bright view of the sky is not the same as direct sunlight reaching the planting spot. University of Maryland Extension uses six or more hours for full sun, four to six for partial sun or shade, and fewer than four for full shade in its landscape guidance.
Treat those bands as a starting point. Suppliers sometimes use slightly different thresholds, so read the instructions for the particular plant or cultivar you are buying. “Shade” also does not mean darkness: an open, north-facing bed can receive plenty of indirect light without many hours of direct sun.
University of Maryland Extension: landscape light definitions
Morning sun and afternoon sun are different clues
Two beds can each receive four hours of sun and offer different growing conditions. One may receive gentle morning light before a fence shades it. Another may face the hotter afternoon sun beside a paved patio.
Plant tags that distinguish part sun from part shade often signal how much protection a plant needs from intense light. Proven Winners describes part sun as favoring the sunnier end of that middle range, while part shade plants often benefit from relief from strong afternoon sun. Climate matters, too. Always check the cultivar's guidance for your region.
Record the timing alongside the total hours. “About four hours, mostly in the afternoon” is a better shopping note than “partial shade.”
Proven Winners: understanding garden light levels
How to make a simple garden sun map
Use this practical observation routine to build a working estimate. It is a planning exercise, not a laboratory measurement.
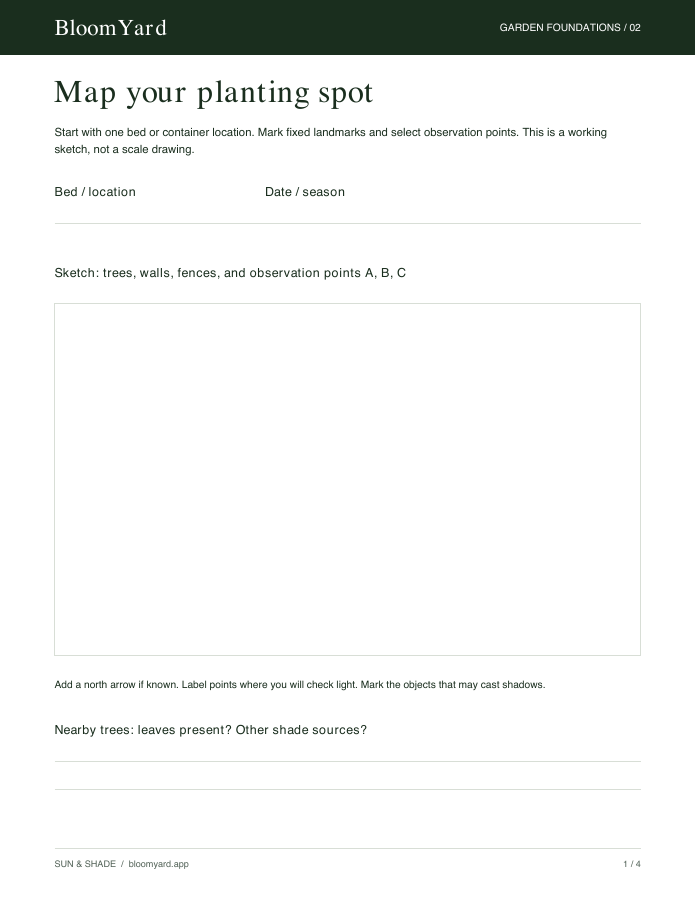
- Draw the bed. Mark the house, fences, trees, and other objects that can cast shade. Label two or three observation points if the bed is large.
- Choose a mostly clear day. Write down the date, weather, and whether nearby deciduous trees have leaves. Clouds should not be mistaken for permanent shade from a building or tree.
- Check throughout the day. Observe from early morning until the site no longer receives direct sun. Hourly notes are a useful starting point; check more often around changing shadow edges.
- Record intervals, not just snapshots. Note when direct sun starts and ends at each point. If you missed a transition, write an estimated range rather than an exact time.
- Add the direct-sun intervals. Keep filtered or dappled light in a separate note. Revisit uncertain spots on another clear day before choosing demanding plants.
Example: Suppose a point gets direct sun from 8:30 to 11:30 a.m., then again from 2 to 4 p.m. That adds up to five hours. The gap matters: it tells you the bed has midday shade. If you only checked at noon, you could easily label the spot too shady.
Keep observations tied to the actual planting position. A sunny front edge and a shaded back corner should not be averaged into one label for the whole bed.
Recheck when the season changes
A September observation describes September. It does not prove how much light the same spot receives in June. The sun's path changes through the year, altering shadows from buildings and other obstacles. Trees that lose their leaves add another seasonal change.
Make a note to revisit the bed during the growing season that matters for your planned plants. If you are planning in fall or winter, keep your light classification provisional until you have observed the leafed-out garden. University of New Hampshire Extension explains why seasonal sun paths matter when evaluating obstructions; the same observation principle is useful for locating garden beds.
A mapping app can help you plan when to look, but your own observations can reveal shade from a fence, roof overhang, or tree canopy that a model misses.
University of New Hampshire Extension: sun paths and obstructions
Match plants to the whole planting spot
Use your light notes to narrow the options, then check moisture, soil, hardiness, and mature size. A shaded spot under an established tree can be dry because plants compete with tree roots for water. It should not automatically be treated like a cool, evenly moist woodland bed.
Iowa State University Extension recommends matching shade-tolerant perennials to the actual site and explains the challenges of growing beneath trees. Avoid digging through major roots or piling soil over them just to make room for new plants.
Iowa State Extension: perennials for shady areas
For each candidate, write down its stated light needs and compare them with your measured range. If the match is uncertain, choose another location, investigate further, or trial a small planting before filling the entire bed. A struggling plant's appearance alone does not identify a light problem; watering, roots, and other conditions can produce overlapping symptoms.
Pair your observations with our soil testing and improvement guide. Then explore the Plant Library with a clearer description of your site.
Take your notes into the garden
The free Sun & Shade Workbook gives you four printable pages: a site sketch, a daily observation log, a seasonal comparison, and a plant-fit checklist. It keeps estimates and unanswered questions visible so you can make the next decision with better information.
Get your free Sun & Shade Workbook. Start with one bed and one observation day. You can add detail as the season unfolds.